Moka Pot
What is a moka pot?
A Moka pot, also known as a stovetop coffee maker, is one of the world's most iconic and instantly recognisable coffee brewers. Its invention is credited to Alfonso Bialetti. There are claims that the inventor was an employee of Bialetti called Luigi Di Ponti. However, no official record exists of this, and the name on the patent is that of Alfonso Bialetti. Either way, it definitely originated in Italy in 1933.
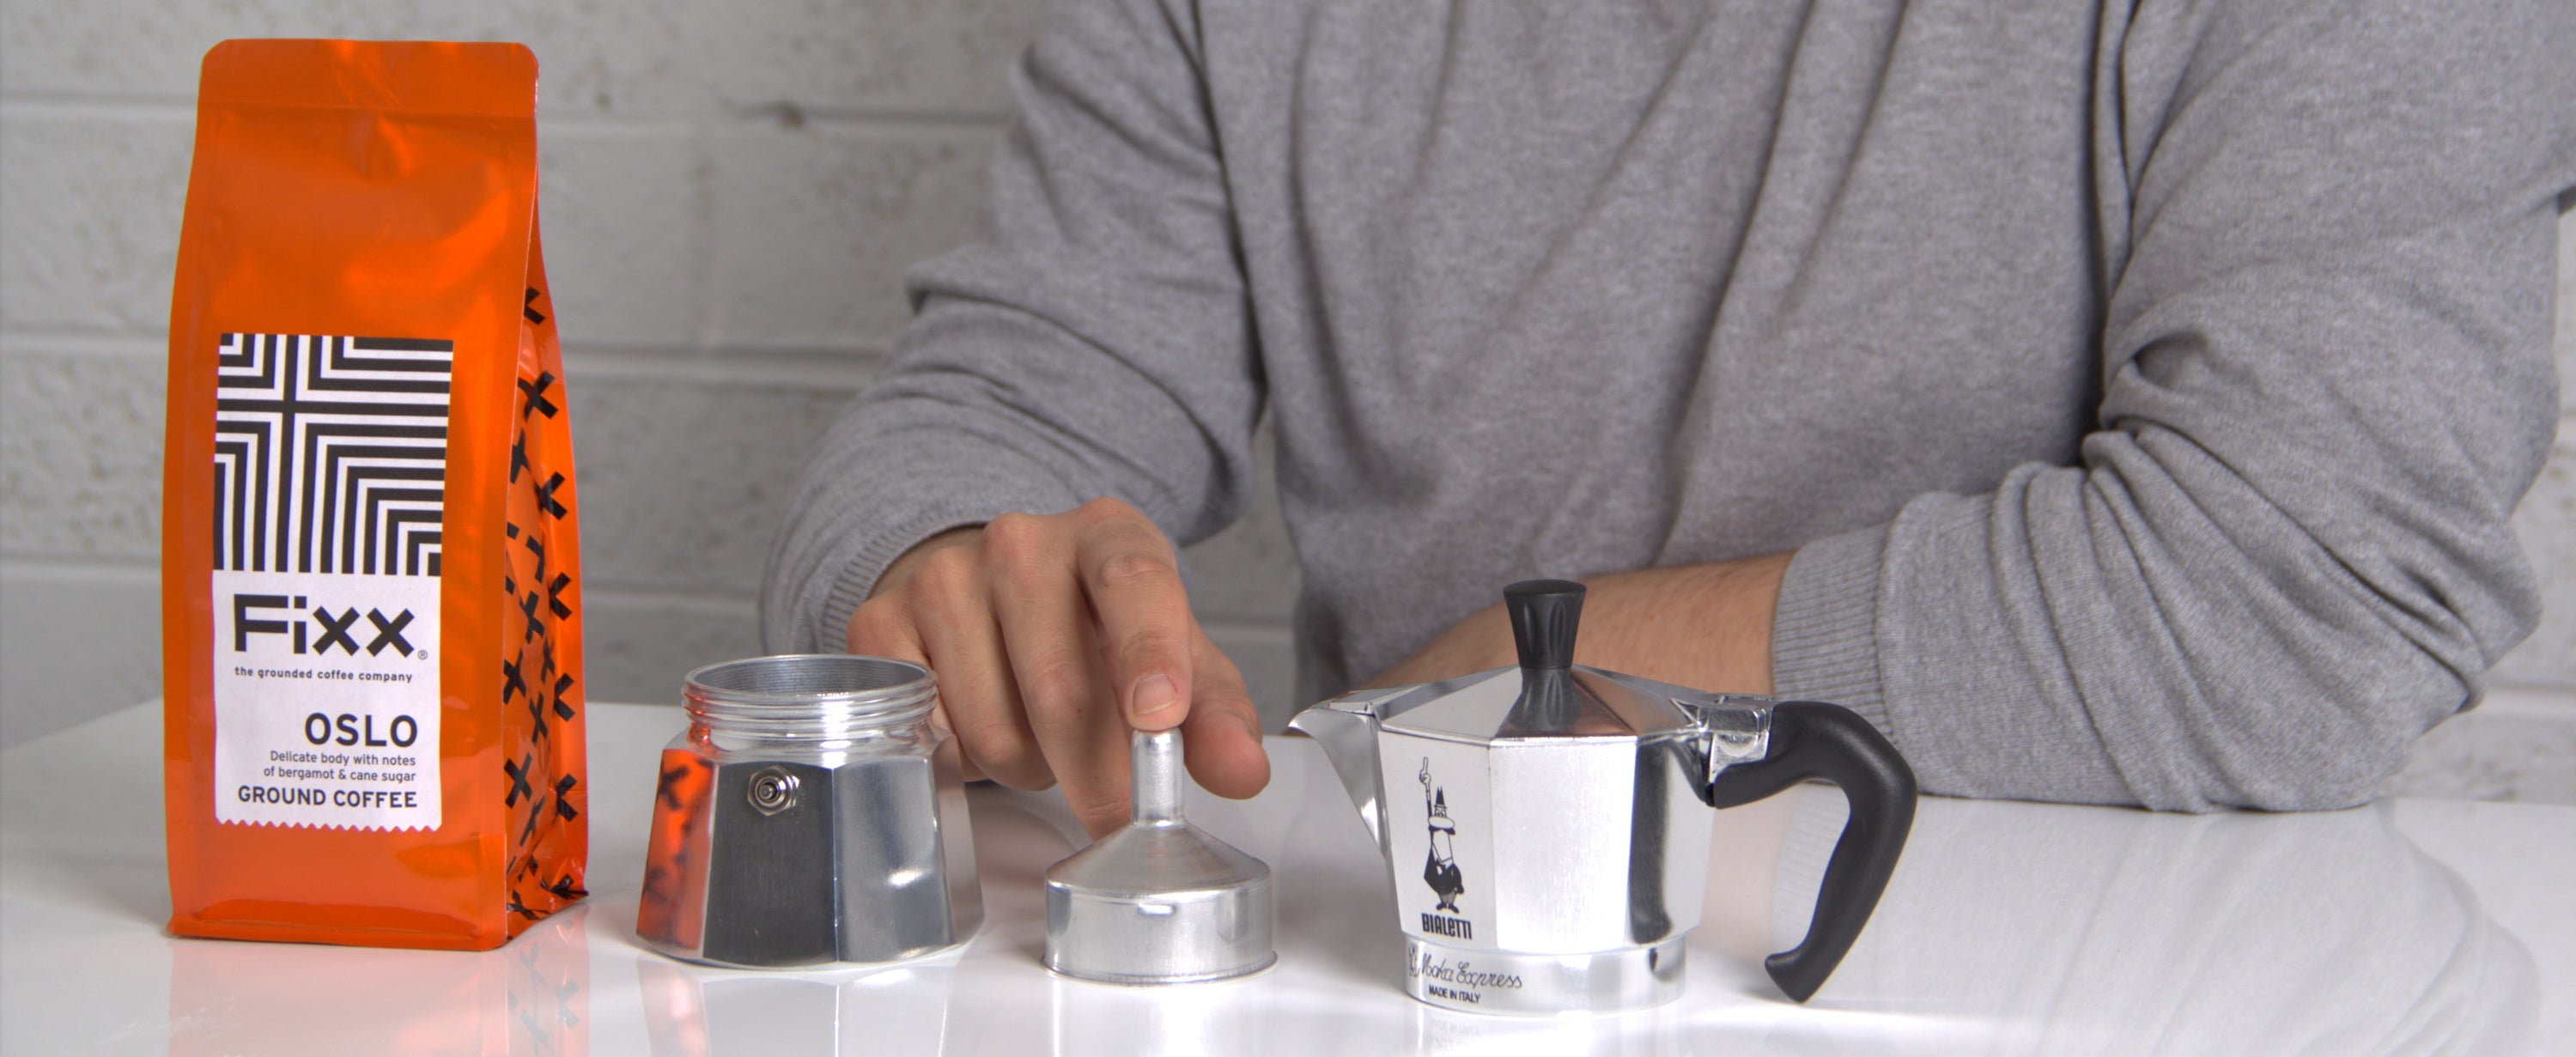
The Moka pot consists of three parts: a bottom chamber for water, a filter basket for coffee grounds in the middle, and a top chamber to collect the brewed coffee. Once assembled and placed on a stovetop, the Moka pot works by steam pressure. Water in the bottom chamber is heated, creating pressure that forces hot water up a funnel, through the coffee grounds in the filter basket and up into the top chamber. The result is a strong and rich coffee with a flavour profile some people liken to espresso. Moka pots are popular for their simplicity, affordability, and ability to produce consistent, full-bodied coffee at home.
How does a moka pot work?
As mentioned above, the Moka pot consists of three parts. It brews coffee by passing boiling water, pressurised by steam, through ground coffee. This type of brewing method is called percolation. This is when water passes through a bed of coffee into a chamber or vessel, ready to drink. The flip side of this is immersion, which is when all the coffee hangs out in all the water before drinking (French Press). Here's a simple breakdown of each part and how they work. I'll get to tips for getting the best out of yours later.
Bottom Chamber:
The bottom chamber is for the water, and it has a safety valve which will release pressure if it goes over three bars. This was only introduced in the 1950s, meaning every moka pot before that was potentially a little bomb!. Most people will use this valve as the fill level, which is mostly accurate. However, depending on your roast type, you might want to reconsider this. But, more on that later. As water is heated, it produces steam and expands, pushing the water up the funnel. This funnel is part of the next section.
Centre Chamber:
The removable centre chamber is where the coffee is housed. At the bottom of this basket is the funnel, which will be dropped into the water below. As the water is pushed up the funnel by the steam generated, it passes through the bed of coffee and up into the top chamber. I'll cover how much coffee to use and ratios later.
Top Chamber:
This is the vessel for holding the brewed coffee. At the bottom of the chamber is a filter plate, which will do most of the filtration, resulting in a nice, full-bodied brew. Around the filter plate is a rubber ring or gasket to hold the top chamber in place. This gasket will be one of the only things you might need to replace on your moka pot over time. There is a chimney in the centre where the brewed coffee will flow from filling the chamber. And then there is a spout for a nice simple pour.
How to make delicious moka pot coffee
Brewing coffee with a Moka pot is a straightforward process. However, there are a few things to consider depending on the type of coffee you might be using. But ultimately, the main thing you will try to control during the brewing process is the temperature. Here's a step-by-step guide to brewing a delicious coffee with your moka pot.
- Water: Fill the bottom chamber with freshly boiled water. Using boiled water will speed up extraction and reduce the chance of over-extracted, bitter coffee. Do not go above the safety valve.
- Coffee: Grind your coffee to a medium-fine consistency, similar to that used for a Hario V60 or AeroPress. You don't want to grind too fine, or the water will struggle to pass through the bed of coffee. This will make the pot stay longer on the heat and increase the chances of making everything too hot and over-extracting the coffee. Fill the filter basket with coffee grounds, levelling it without pressing down.
- Assembly: Assemble the Moka pot, ensuring the rubber gasket is in place. If you have an AeroPress filter paper, place one over the filter plate at the bottom of the top chamber, then rinse with some water to keep it in place. This will give an added bump in extraction. Using a towel to hold the hot bottom chamber, screw the top and bottom chambers together tightly.
- Heat Source: Place the Moka pot on a stovetop over medium-low heat. You don't want to use high heat as this will increase the overall heat of the moka pot, over-extracting the end coffee. Keep the lid open during this stage.
- Brewing: As the water heats up, steam will build, and the pressure will push the water through the coffee grounds. Once coffee begins flowing into the top chamber, reduce the heat to low.
- Finish: As soon as you hear a gurgling sound, remove the Moka pot from the heat source.
- Enjoy: Your Moka pot coffee is ready!
Some Things to Consider
- Light Roast: Lighter roast beans are denser and more compact than other types of roast, making them slightly trickier to extract. To help, you can grind finer with light roasts to expose more surface area to the water. And make sure you fill the water right to the release valve.
- Dark Roast: Darker roasted beans are more porous and brittle, making it easy to over-extract. To avoid this, grind a bit coarser with darker roasts. Also, use less water in the bottom chamber. 2/3 to 3/4 full (below the release valve) will help properly extract dark roasts.
- Ratio: There are many different types of moka pots out there, so this is a bit of an approximation. Generally speaking, your water-to-coffee ratio will be 10:1. But do bear in mind that filling the basket with coffee is a volumetric measurement. This means a full basket of light roast will weigh more than dark roast. Hence, the suggestion above to use less water when brewing darker roasts.
- Pot Size: Moka pots come in a massive range of sizes. This will mean they each behave differently when brewing. If you own the adorable 1-cup, take it off the heat source as soon as coffee begins to pour when brewing. From a 6-cup upwards, you can leave it on the heat for a bit longer as there is a lot of water yet to pass through the bed of coffee.
How to clean your moka pot
First things first, don't ever put it in the dishwasher! If you've ever done this, you'll know why. The alkaline used in dishwashing detergent will oxidise the aluminium of the moka pot, irreversibly discolouring it and affecting the flavour of any coffee made thereafter. That being said, some dishwasher-safe models exist, but I would avoid the dishwasher at all costs.
To clean a moka pot:
- Allow it to cool before disassembling it.
- Tip any spent coffee into your food waste compost bin (or find tips on how to reuse it in our blog here).
- Use a soft sponge or soft bristle brush and clean with a mild detergent.
- Don't use a metal scourer; this will scratch and mark your moka pot.
- Allow to air dry entirely before reassembly.
You can find tips on how to clean all of your home coffee brewers in this handy FiXX blog. But I'd also like to address the notion of not washing the top chamber of your moka pot in some weird attempt to season or create a patina of sorts. Don't do this; it's just dirt. Coffee is oily and acidic and will go rancid unless cleaned. It is not adding any flavour to your cup of coffee. No matter how cool you might think it looks.