Cupping
What is Coffee Cupping?
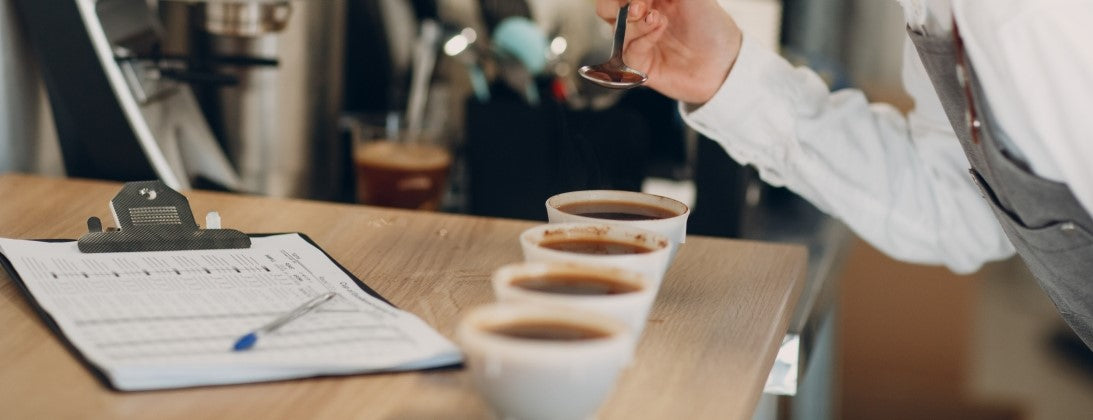
Coffee cupping, or cup-testing as it was called originally, is an industry standard for evaluating coffee. Before its adoption as an evaluation practice in the early 20th century, green coffee beans were generally traded based on colour and size. Of the two dominant coffee plants we consume (Robusta and Arabica), Robusta has the larger of the two beans. It is also naturally stronger in caffeine content but has a lower flavour profile. Clarence E. Bickford, a green bean broker from San Francisco, recognised that smaller beans had a better flavour and thus began developing cup-testing to prove this.
When it comes to tasting coffee, the same coffee bean, grind size, water temperature, and ratio can significantly impact the flavour. Therefore, having an agreed-upon practice for judging coffee is essential when assigning value.
Which Tools Are Required for a Successful Cupping Session?
For cupping to catch on, it needed to be easily replicated anywhere in the world. Not requiring any fancy equipment was one of its cornerstones. In a professional setting, there will be standardised equipment. But it is easy to do a cupping session at home. Here's the essentials you need for a coffee cupping session:
Coffee Beans
Obviously. You'll need at least two different types of coffee beans to evaluate. These beans should be freshly roasted.
Coffee Grinder
A quality burr grinder is essential for grinding coffee beans to a consistent and uniform coarseness. This ensures even extraction during brewing. All coffees being tasted must be prepared exactly the same way.
Cupping Bowls
Or glasses. Or mugs. It doesn't really matter so long as the vessels are the exact same.
Kettle
Any auld kettle will do here. You'll be saturating all the coffee, so it doesn't matter what type of kettle you have. But, if you have a temperature control kettle, all the better. The water temperature should be between 90°C to 96°C (195°F to 205°F) for brewing.
Scale
A digital scale with a precision of at least 0.1 grams is necessary to measure coffee beans accurately and ensure consistent ratios of coffee to water.
Timer
You'll need a timer to ensure that you steep the coffee for the correct amount of time during the brewing process. Typically, coffee is steeped for 4 minutes.
Spoons
Cupping spoons are specially designed for the coffee cupping process. They have a deep bowl and a specific shape that allows slurping coffee from the spoon, spreading it across the palate, and assessing its attributes. But who has a drawer of those at home? A soup spoon will work fine.
Spittoon
Well, that's just a fun word to say. Spitting out coffee helps maintain the clarity of the palate. But you can do that in a bowl, cup or sink.
Professional coffee cupping sessions adhere to strict protocols and standards to achieve reliable and consistent results. But you don't need to worry too much about that if you're doing it at home.
What is the Step-by-Step Coffee Cupping Process?
In a professional setting, the cupping process follows a specific step-by-step procedure to systematically evaluate and compare coffee beans. But you can easily do it at home with some friends too. Here's a detailed guide to the step-by-step coffee cupping process:
Tools and Equipment Preparation:
- Gather Tools: Get everything ready as listed above, including coffee beans, cupping bowls, spoons, grinder, kettle, scale, timer, cupping forms, and a clean table.
- Water Temperature: Put the kettle on. If you have a temperature control kettle, all the better. In a professional setting, a boiler would be used to maintain water temperature between 90°C to 96°C (195°F to 205°F) throughout the cupping session.
Preparing the Coffee:
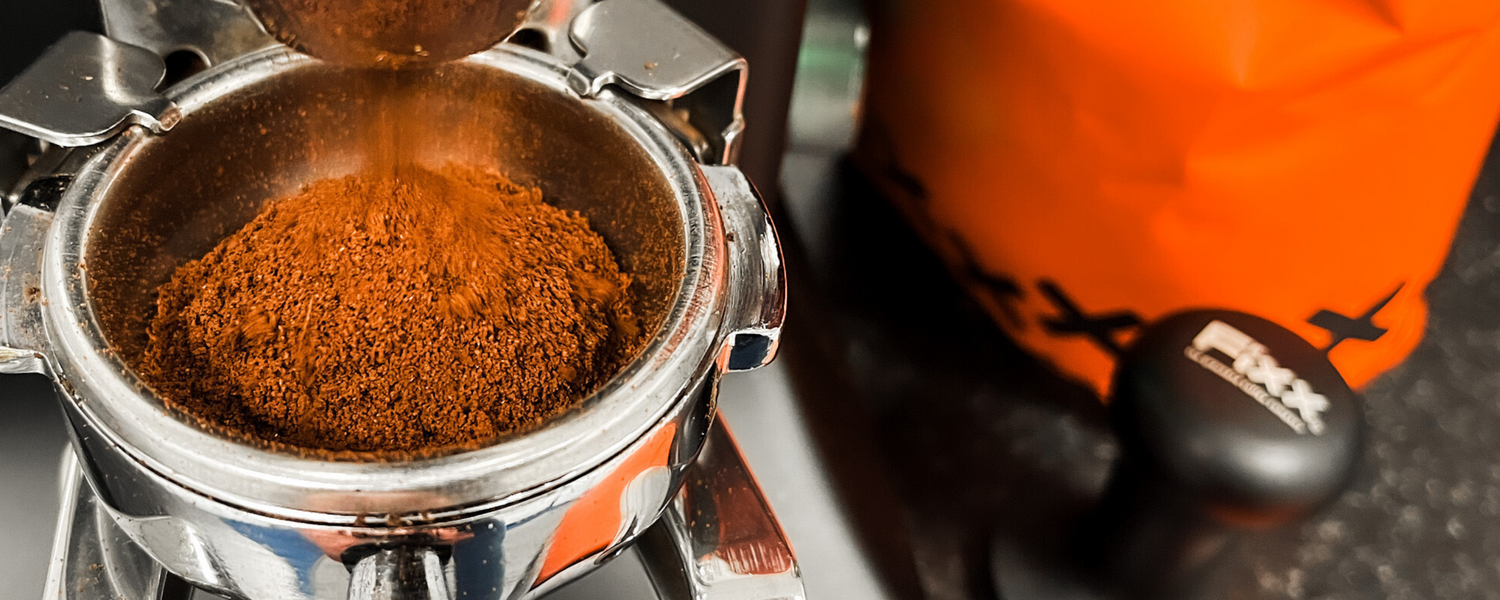
- Weigh Coffee: Using a scale, measure coffee beans for each cupping bowl. Brew using the ratio of 60g of coffee to 1lt of water. So if your vessel can take 200ml of water, grind 12g of coffee. Be consistent in the amount of coffee used.
- Grind Coffee: Grind the coffee beans to a medium-fine consistency, similar to sugar. Grind the coffee just before the cupping session to ensure freshness.
Cupping Bowls and Coffee Grounds:
- Set Up Bowls: Place one cupping bowl for each coffee you want to evaluate on the cupping table. The standardised bowl is nothing special. It's just a ceramic bowl of approximately 250ml. But whatever you brew into must be the same size and dimensions. Arrange them in a row for easy access.
- Smelling Dry Grounds: Take a moment to smell the dry coffee grounds of each sample to assess their initial fragrance and aroma characteristics.
Brewing and Evaluation:
- Brew Coffee: Pour hot water evenly over the coffee grounds in each cupping bowl, ensuring that all the grounds are saturated. Fill each bowl to the top.
- Brewing Time: Allow the coffee to steep for precisely 4 minutes. Start the timer as soon as you finish pouring water over the grounds.
- Breaking the Crust: After 4 minutes, use a spoon to break the crust formed on each cup's surface. Place your nose close to the cup and inhale deeply to assess the coffee's aroma during this "break" stage.
- Skimming: After breaking the crust, gently skim off the coffee grounds and any remaining foam from the surface of the cups. This part stops the brewing process.
- Tasting: Once the grounds are removed, wait. Not only will the coffee be hot enough to burn your tongue, but it'll also be too hot to taste. Wait a couple of minutes before starting. Use a spoon to slurp the coffee from the spoon. This technique allows the coffee to spread across your palate, helping you assess flavour, acidity, body, and aftertaste. Make sure you continue to taste as the coffee cools.
Discussion and Comparison:
- Scoring: In a professional setting, each coffee would be scored and evaluated on attributes such as aroma, flavour, acidity, body, balance, and aftertaste. Typically, a numerical scale of 0-100 is used, with higher scores indicating better quality.
- Selecting Favourites: But if you're doing it at home, all you need to do after tasting all the coffees is choose a favourite. If you have a preference, expand on why. Is one sweeter than the other? Is one more bitter or acidic? Compare and contrast is the name of the game here. And there is no need to be overly extravagant with your language.
Coffee cupping was designed to be an evaluation tool for coffee trading. It then went on to assist in building a language to describe the flavours of coffee. And that's a whole other conversation that you can read more about here. But doing this test at home is a beautiful way of discovering how varied the flavours of coffee can be.
Why is Coffee Cupping Important
As mentioned earlier, green beans were traded on colour and size before cupping. This meant that Robusta beans would fetch a premium price over Arabica. We now know that Arabica beans have the potential for a much more complex and flavourful cup of coffee, thanks to cupping. Having a globally recognised industry standard for assigning value to the flavour of the green bean gave the farmers and producers more power to demand the prices and recognition that their hard work and labour deserved.
Cupping also allowed coffee professionals to create flavour profiles for different coffee varieties. It helped ensure consistency in coffee quality as it effectively detected defects in coffee beans. Through cupping, researchers and agronomists could study the effects of growing conditions, processing methods, and varietals on coffee flavour. This research contributes to improving coffee cultivation and processing techniques, which in turn helps farmers and processors demand the premium they deserve.